Installing Windows 95 in 2025 is not as hard as it may seem. I was able to get it done in under 10 minutes with a 'working' internet connection. This post will walk you through the process and provide the necessary resources.
Link to Resources
This is a link to the Windows 95 ISO, the Windows 95 Bootloader, and Office 95. Activation keys can commonly be found online.
Step 1. Setting Up VirtualBox
Start off by installing VirtualBox, you can do it here.
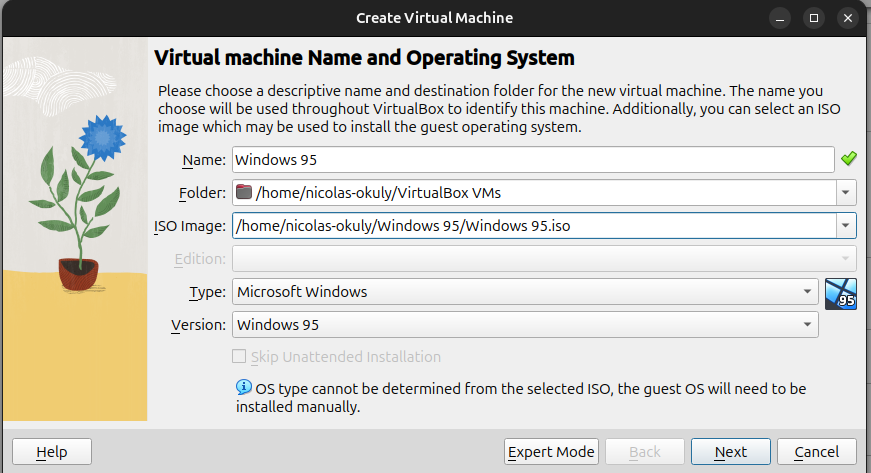
Open VirtualBox and click “New.” A setup window will appear:
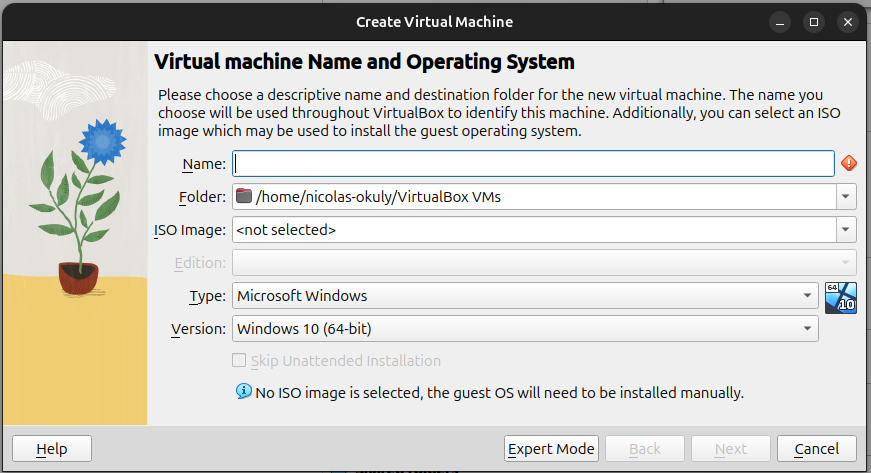
Give it whatever name you want, and tell it where your Windows 95 ISO is. It should automatically detect that it is Windows 95.
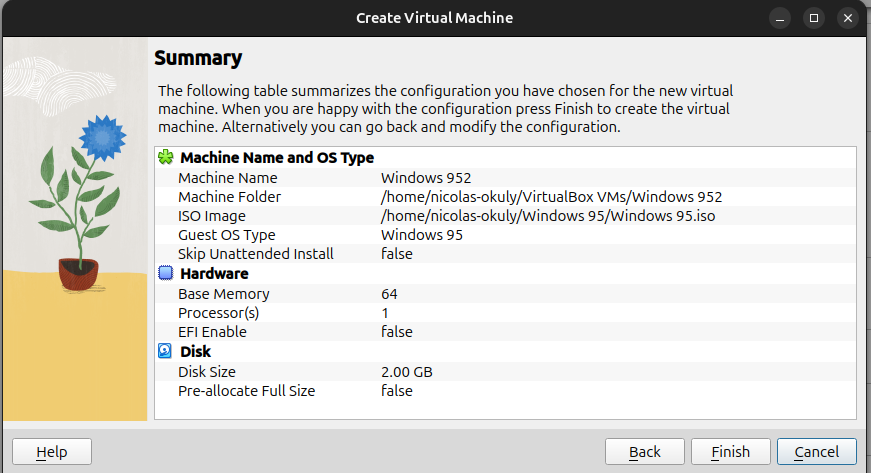
Click “Next,” set RAM to 128MB, and proceed. Keep the disk size at 2GB, click “Next” twice, then “Finish” to confirm.
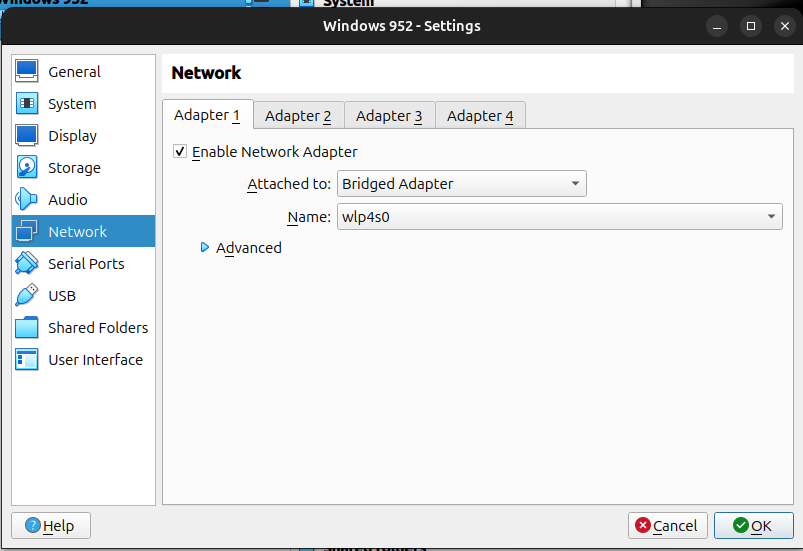
Step 2. Virtual Box Settings
Go to “Settings” > “Storage,” select the empty floppy disk, and attach “Windows95a.img”.

Under “Network,” set the connection type to “Bridged Adapter,” then click “OK”.
Step 3. Initial Boot
Press “Start” to boot into the terminal:
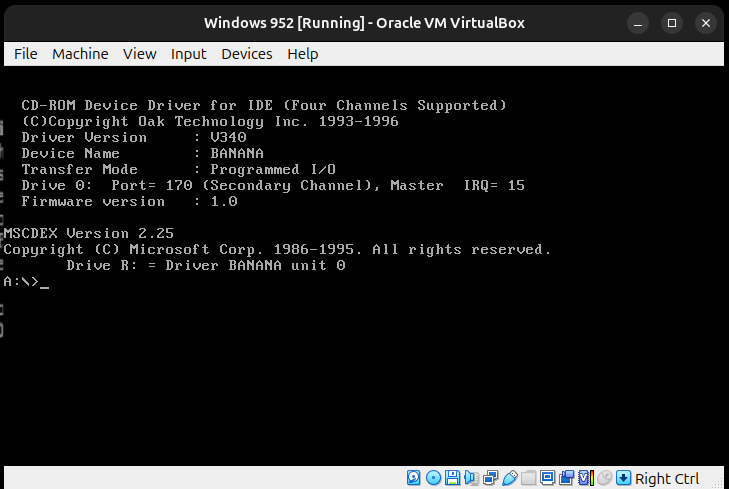
Type “fdisk” and press Enter repeatedly until prompted to restart.

Press Ctrl + R to reboot and return to the terminal. Type in “format C:” hit enter, type in “y”, hit enter, and then press enter again.

Now run “C:”, then “md CABS”, then “cd CABS”, and finally “copy R:\WIN95”. After that, type in “setup” and press enter. You will see the setup screen.
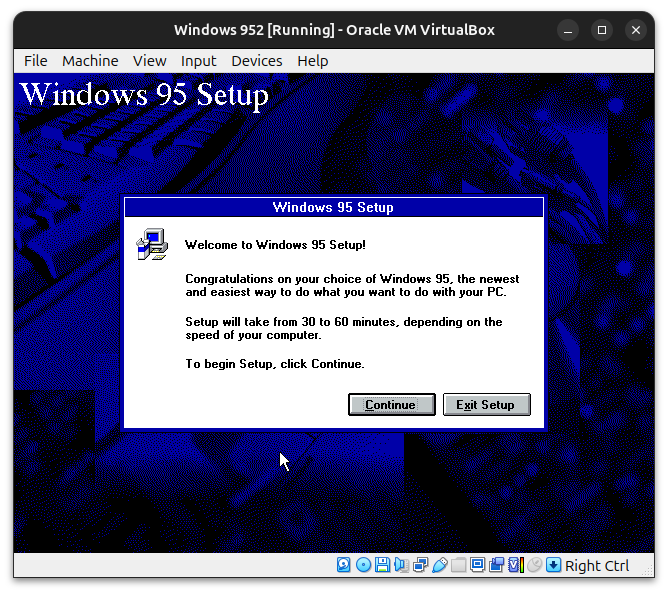
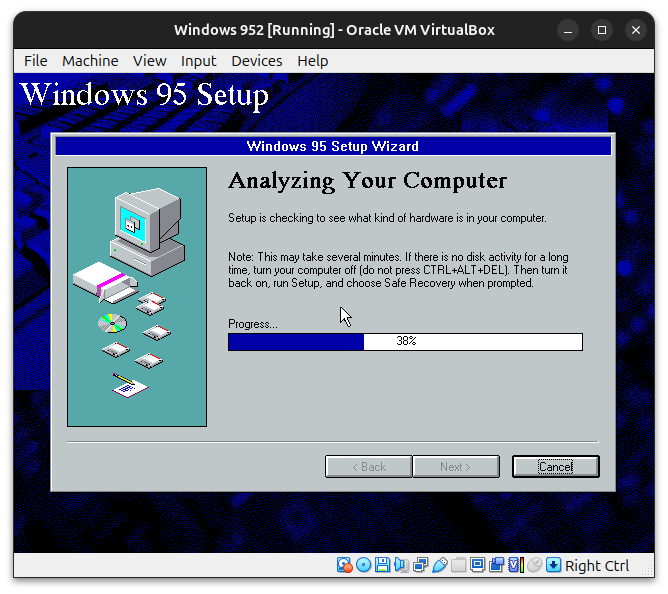
Follow the on screen instructions using C:\WINDOWS as the install directory and use typical as the setup option. Once you reach the activation screen, use any Windows activation key to activate Windows 95. Set the name and company to whatever you want, check both Network Adapter and Sound, MIDI, or Video Capture Card, and then wait for it to check your device.
Press next, choose whether you want a startup disk, we’ll say no because this requires making a digital floppy disk. Then press next. After that hit finish. You will get a pop-up saying to remove a disk from your floppy. Press the right ctrl button and then click on Devices > Floppy Drives > Remove Disk from Virtual Drive. Then also go to Devices > Optical Drives > Remove Disk from Virtual Drive. And press “Ok” back in Windows 95. Your device will restart.
Step 4. Setting Up Windows 95
Enter a name and workgroup, then click “Close”.

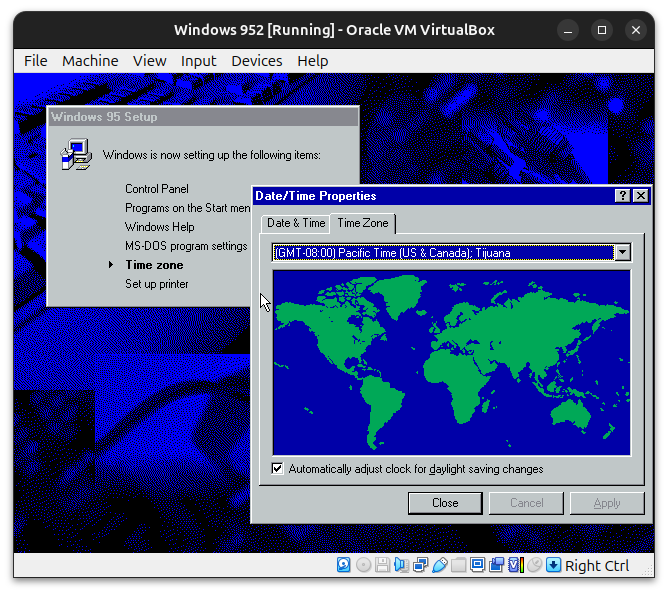
Wait for setup, then set your timezone and click “Apply” > “OK” If you want to setup a printer follow the directions or click “cancel”. Click “OK,” and the VM will restart.
After powering back on, you can set a username and a password. The password is optional but recommended.

Step 5. Setup the Internet
Open up the control panel (Start > Settings > Control Panel), and click on “Network”.

Press Add > Protocol > Add > Microsoft > TCP/IP > OK > OK. You will then be prompted to restart your computer, hit yes and wait.
Once it starts back up, press “The Internet” on your desktop.
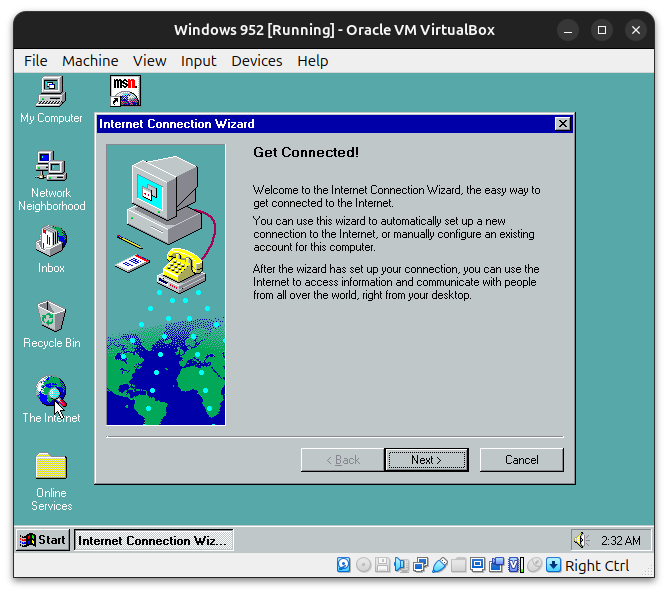
Click Next > Manual > Next > Connect using my Local Area Network > Next > Next > Next > Uncheck “Use Internet Mail” > Next > Next > Finish.
Open “The Internet” again. If an error appears, click “OK” and visit “google.com.” Due to the outdated browser, most websites may not load properly—this is expected.

Congratulations!!!
You now have a working copy of Windows 95 on a virtual machine. If you have any questions, email me at [email protected].